Many of you were inspired by my #ArtMatters YAM display with my students. Here is a closer look at some of the things written by my students on the blobs... Excuse the size! Wanted to make sure you could read them!
(I'm even starting to get fancy with the collages!)
With architecture fresh in their minds from their winter houses I wanted Kindergartners to go from creating buildings using shapes to actually drawing buildings. I knew when I saw this post via pinterest awhile back that I HAD to do this project. Who doesn't love dinosaurs!? Let me tell you, just saying the word "dinosaur" to a kindergartner gets them excited!
I Can Statements: I can draw a dinosaur using shapes I can talk about architecture and draw a city
Day 1: Started the project with what else but the fabulous book If the dinosaurs came back by Bernard Most. The first thing I wanted to bring to their attention was the lack of colors in the illustrations with the exception of the dinosaurs. After some serious questioning took place they eventually figured it out and I had them focus on the illustrations while listening to the story. After we read the book I had them watch a short demo of drawing buildings and making them more interesting than just a rectangle by adding layers like a cake and interesting windows and antennas. Then they got busy drawing either vertically or horizontally.
Day 2: Looked back at a great resource page in the book that features illustrations of each kind of dinosaur. I photocopied that page so that each student could have one. We talked about how each dinosaur is created from a bunch of different shapes and then practiced finding the shapes in the dinosaurs.**
**side note: THIS WOULD HAVE BEEN THE PERFECT TIME FOR A SMART BOARD!
After practicing finding the shapes in the dinosaurs and tracing them they got a 6x12 piece of paper to draw their dinosaur on using shapes. I encouraged them to use the entire piece but that proved difficult for some. When they were ready to paint they filled in the dinosaur making all the shape lines disappear and dinosaur appear!
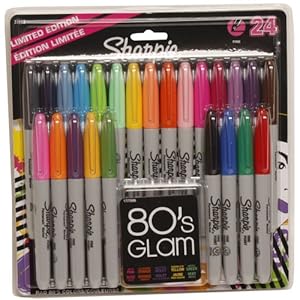
Day 3: Gave the dinosaurs an outline with sharpie and added details and faces. Finishing touches were put on the cities, and the dinosaurs were cut and glued down!
On display with many other animals of sorts at McDill Elementary...
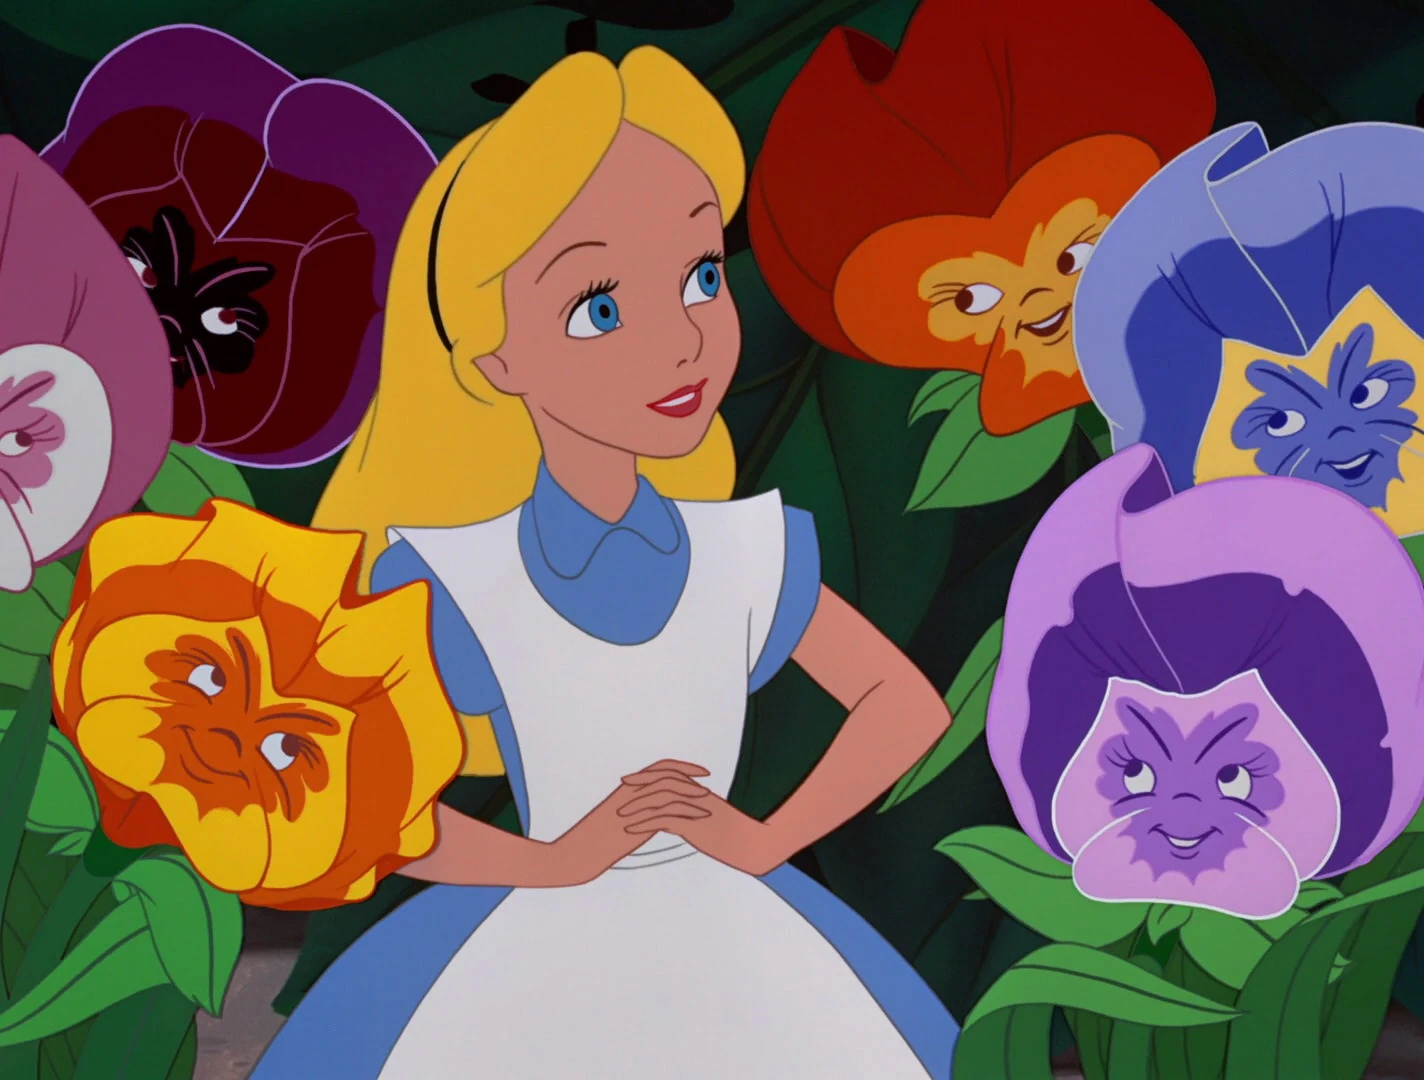
Needed a sub one day last week and this was the lesson I had my sub do with my K-2 students while my older students (3-6) did complete the drawing sheets. Here is the lesson I left for the sub...a brain child/lesson of my own creation, no Pinterest needed! Go me! Maybe a little inspiration from Alice...
Disney's Alice in Wonderland
Expression Flower Faces
Have a discussion about Emotions and Expressions and how what we feel can usually be seen by others because of what our faces look like. Then list 10 or so different emotions and have them act out/show that expression to you. Remind them they should be just SHOWING and not using sound.
HappySadExcitedAngrySuprisedScaredSickSomeone who just got a complimentSomeone who just won a million dollars**Anymore you can think of**
Then for work time hand out a circle tracer to each student and have them trace a circle 4-6 times and draw just a face showing an emotion. Let them know they will be turning these into something so they shouldn’t do anything outside the circles. Show them my example with just the faces.
When the first student finishes you can reveal to them what they are going to be doing with those faces. They will be creating flower people out of them for spring! You can then show them my example with the circles turned into flowers. Feel free to hang it up on the board. Each circle should have petals, stem, leaves, and be interacting with the other flower people and be growing out of either the ground or a flower pot. They can use sharpies for outlining faces and crayons/colored pencils/or markers to color the rest.
My Example
From Kindergarten
From 1st Grade
From 2nd Grade
Big fan of this project, I may have to do it as a real project next year :)
Doing a little research before I start a Chinese Dragon project with my first graders... this video isn't something I would show the class but I learned a lot from it and was a great starting off point for research!
How much research do you do before teaching a cultural lesson? Do you trust what you already know or do you go out searching for information?
Back in February I started introducing Contemporary Artists to a few different grade levels. First and Second grade were introduced to Jim Dine. It was right around Valentine's Day when I began to introduce him which was perfect timing as he is widely known his heart art!
Last year I started recording some of my demos ahead of time and during instruction I would play the videos and narrate as students watched. I started this at the end of last year, just twice, and I was really surprised with how many more students were successful. I believe what it came down to was they were in their seats, full attention on the screen, rather than standing around a table with the ability to chat. And be distracted by their friends. And standing so close they can't keep their hands to themselves.
Anywho, while I was making my example for this project, I realized it would be the perfect occasion to use this type of instruction.
I Can Statements: I can create a heart artwork inspired by the artist Jim Dine. I can mix primary colors to get secondary colors.
Day 1: Short introduction to Jim Dine and talking about the kinds of things that appear in his art work and talking about Pop Art. This is all done through this PDF artist poster I put together...
Then a closer look at this painting, one of my favorites....
Jim Dine "Four Hearts", 1969
I try to use color mixing as much as possible with younger kiddos so I decided to make the hearts four different colors that they would have to mix instead of duplicating Dine's work. So they started with watching my demo video and predicting what colors I was going to get as they watched me mix. Once the video was done they drew a heart in each corner of their paper. I tried with the first class to not have them break up the paper into four sections first, but it was a little bit of a bomb so for the other classes they drew a horizontal and vertical line to break up their papers before drawing the hearts.
AND THEN THE MAGIC HAPPENED. They got primaries and white and had to mix a green, purple, orange, and choice color (in no particular heart on their paper). I love watching them mix colors....there is so much joy in making colors appear by your own hands.
Day 2: Started with looking at my artist poster of Dine again and seeing what they remembered about the artist and then watching another demo video of creating the background. They used their fingers like stamps and this time did not have to mix secondaries to create their background. I covered/filled my background like Dine's piece but they were not required to.
Day 3: A few minutes were taken to trace their hearts with sharpie for a little extra pop!
Very happy with how these turned out and I could tell how much they loved mixing their colors and using their fingers to paint!
I WILL be showing this to my students. What an inspirational artist with the ability to overcome something so many others struggle to live with and a gift that transcends site! The colors are so incredible. I'm in total awe. Kudos John Bramblitt.
Nothing is impossible! This blind man creates vibrant paintings just by using his sense of touch. #AllTheFeelings
Posted by The Daily Share on Wednesday, April 8, 2015
UPDATE! E-mailed James (Dalek) the post to my blog to share with him my students work and this was his wonderful response.. the awesome perks of being inspired by artists still alive!
Thank you for your email and the link to your blog . I love the day by day break down and the fact that you used sharpies : ) the pieces look amazing . It's always cool to see how these sorts of projects come together . Their color selections and compositions are really cool !! It's really kind of you to share this with me . Please share with the kids that I'm impressed with heir final pieces and please don't hesitate if there are questions I can answer
I can statement: I can use line and color like the contemporary artist Dalek in my artwork.
Day 1: Started off the project with a little background of Marshall and the transformation in his artwork from his space monkey character to his current work. Warning! Make sure you look carefully at his space monkey work before showing students....a lot of them are featuring him stabbing or in other "bad choice" situations as I share with my students.
We also watched a great YouTube video of Dalek working on a mural in Colorado which provided a great platform of discussion about whose artwork it is if others help.
After the mural discussion, we took quite a bit of time exploring his newer artwork and came up with a very impressive list of qualities in his work. I wish I would have taken a picture of the board with their ideas! I was so impressed with the way they spoke about his art and the vocabulary they were using!
James Marshall (a.k.a. Dalek)
They all started their pieces with me with a few required lines. I had them do one vertical, one horizontal, and one diagonal to make sure they had a good space to start with. Before I sent them off on their own, I demoed a few of the more intricate drawings they could do but were not required to do. They spent the rest of the time drawing. Any circles were created by tracing lids and all lines with rulers.
Day 2: Now let me tell you how wonderful my PTO is! Each year I get some funds to use on whatever I want for my classroom and this year I decided to buy large packs of multicolored sharpies that were CRAZY on sale at staples. Like $9 on sale. I knew they needed to be used on this project!
When students were ready to color on the second day I made a huge deal out of these sharpies. We talked about how only 4th-6th graders were going to be allowed to use them and the best way to color with them to keep the tips sharp. I was so pleased with how well students took care of the markers! They might even last to do this project again next year!
I think sharpies were a great choice in material because looking at his work the solidness of the colors really added such a striking visual quality. And it did to their work too, even when their design was lacking.
LOOK AT THIS COLOR (and design)!
Days 3-5: Work days! Each day we reviewed how he used color in his work as reminders about how to use it in theirs and not just get excited about all the colors they had to choose from. Even though the final artworks were only 9x9 it took them quite awhile to finish but I was more than okay with that because I knew it meant a higher quality of work!